Ever felt your car giving you funny sounds and jerks? Everyone has experienced such a problem with a CV axle in the car, making the ride an unpleasant roller-coaster. But don’t worry! Now, in this blog, we are putting our DIY superhero hats to understand how we can get a stuck CV Axle out of transmission.
Here, we will delve into the specific signs of a stuck CV Axle, the needed tools, the step-by-step guide, and safety tips. This blog will lead you through all the processes starting from determining the stuck part to removing it like a master. Smooth sailing on the road at the turn of a wrench.
Signs of a Stuck CV Axle:
As you zoom around the road having the wind blowing in your hair, at one point you feel that something is not right. Imagine your car wanting to tell you a secret, but speaking in the cryptic language of automotive Morse code. Here are the top signs of a stuck CV axle you should not miss:
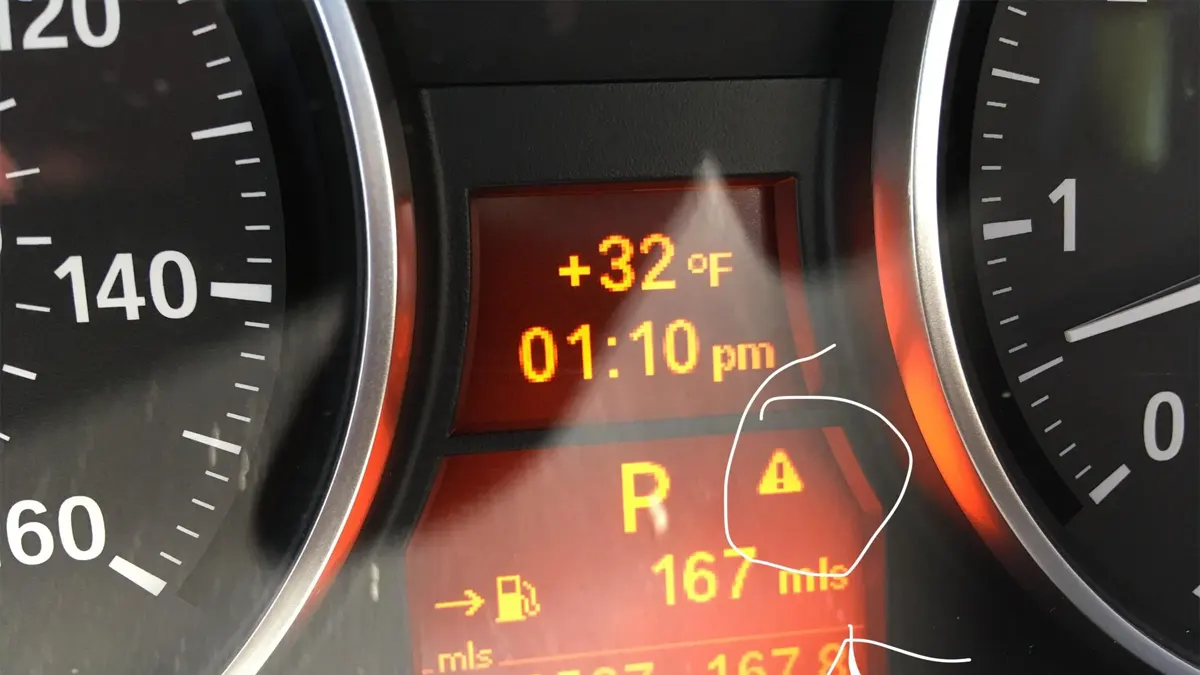
- Strange Sounds: In case you hear eerie groans and moans, especially when turning, your stuck CV axle might be warning you that it’s stuck.
- Shaky Ride: Do not blame the road, as your CV axle could be the culprit causing the unnerving vibrations on your steering wheel.
- Clicking Noises: Loud clicking or clacking sounds, especially when accelerating or decelerating, might suggest your CV axle is seized.
- Grease Overloaded: Grease around the wheel or axle is a sign that things are slipping and sliding.
Tools and Materials:
Make sure you have these tools and materials before you get deep into the process of getting the CV Axle out of transmission. No capes required, just a trusty toolbox and a can-do attitude.
- Jack and Jack Stands: A reliable jack to get your car off the ground and sturdy jack stands to keep it there.
- Lug Wrench: Loosens the lug nuts to free the wheel for the upcoming CV axle work.
- Breaker Bar: Handles tough nuts that regular wrenches struggle with, making your job easier.
- Pry Bar or Crowbar: Acts as your leverage tool to coax the stuck CV axle out of its tight spot.
- Ball Joint Separator: Helps separate the ball joint or tie rod end from the steering knuckle, allowing for easier removal.
- Penetrating Oil: A handy solution for rusty bolts, making them easier to loosen up and remove.
- Rubber Mallet: Offers gentle persuasion by tapping components into place, acting as your automotive therapist.
Step-by-Step Guide:
Grab your toolbox, channel your inner mechanic, and let’s dismantle the stuck CV axle puzzle piece by piece.
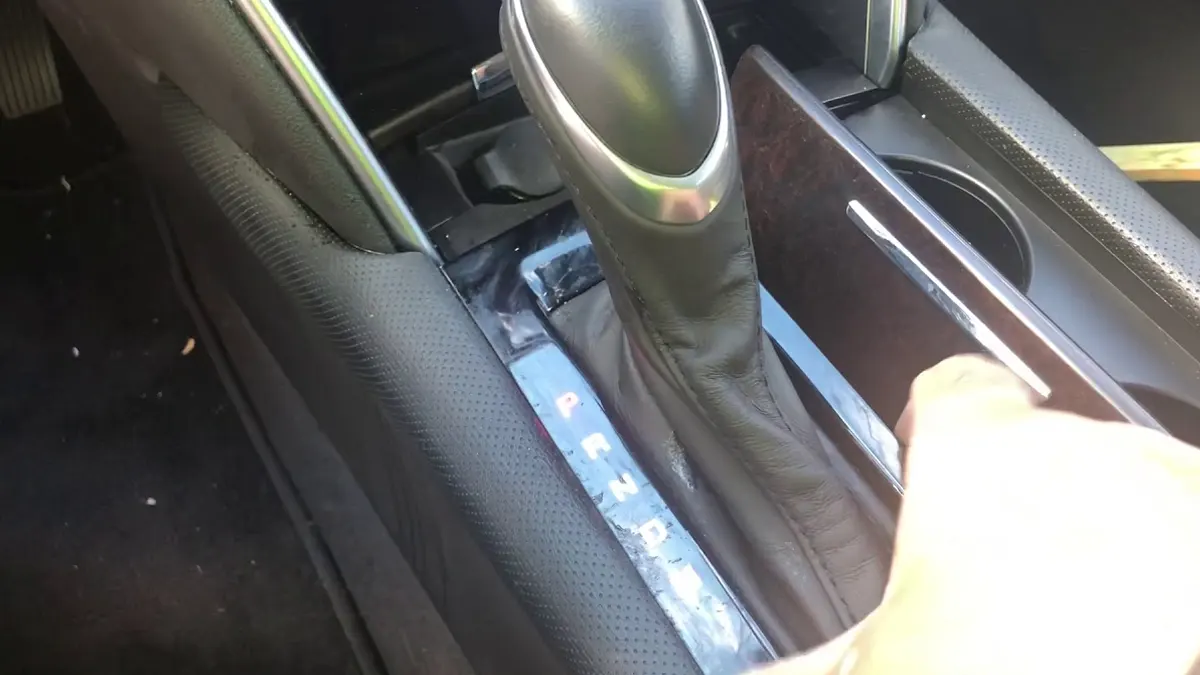
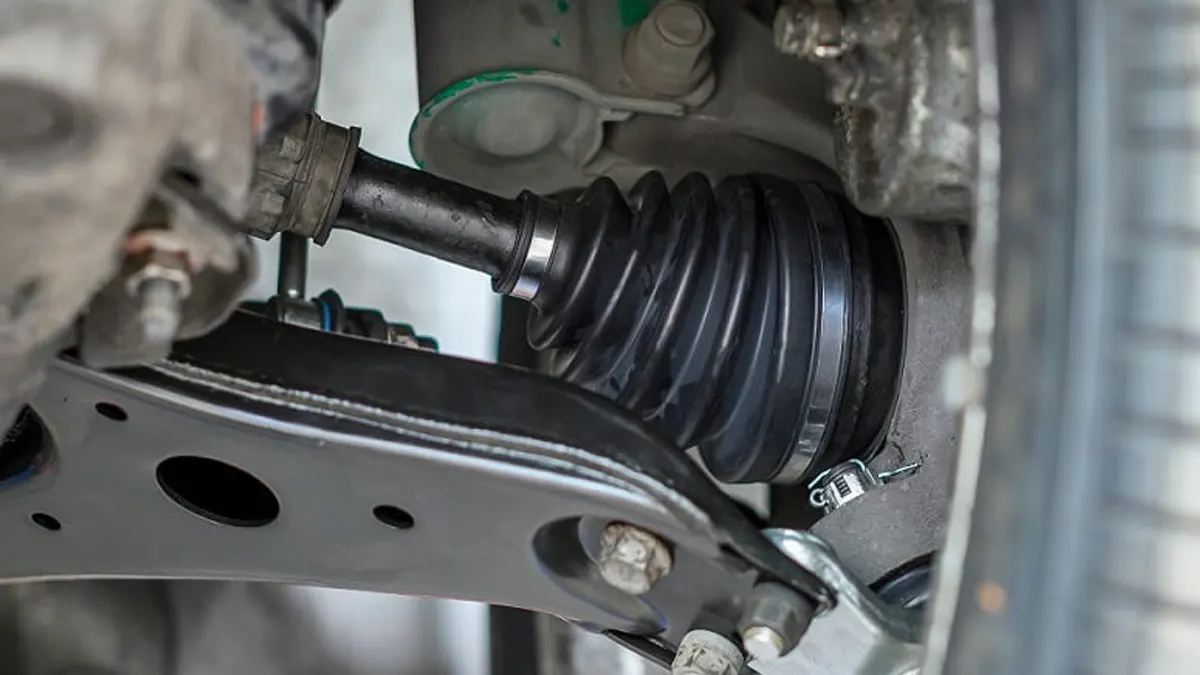
1. Identifying the type of CV axle
Take a close look at your CV axle. Does it have a large nut in the center, or are there bolts. This detail helps you choose the right tools for the task.
2. Removing the wheel and brake components
Start by using your lug wrench to remove the wheel. Next, clear the path by relocating the brake components – calipers, pads, and rotors.
3. Loosening and removing the axle nut
Safely secure your car with jack stands, then grab your socket set to tackle that substantial nut. If it resists, bring in the breaker bar for extra muscle. Once it’s loose, carefully remove it – this step is crucial to unlocking the CV axle.
4. Apply Penetrating Oil:
Spray penetrating oil on the axle shaft where it enters the transmission. Allow it to penetrate and loosen rust or corrosion.
5. Separating the ball joint or tie rod end
Employ a suitable tool to create space between components like the ball joint or tie rod end. Visualize it as delicately untangling a pair of earphones; you’re liberating the CV axle from its companions.
6. Tap with a Rubber Mallet:
Lightly tap the end of the CV axle with a rubber mallet or hammer. This can help dislodge it from the transmission.
7. Use a Slide Hammer or Axle Puller:
If the axle remains stuck, you may need to use a slide hammer or axle puller. Attach it to the end of the axle and apply force to pull it out.
8. Release the axle from the transmission
Equip yourself with a pry bar. Find the optimal angle, apply measured pressure, and gently wiggle the CV axle out of the transmission.
Safety Considerations:
Before we dive into tackling the CV axle that won’t budge, let’s discuss some of the most imperative safety precautions since your safety is our priority number one.
- Protect Your Eyes: Safety glasses are a must. They keep debris and oil splashes away from your eyes, allowing clear vision.
- Guard Your Hands: Gloves are a kind of body armor for your hands, protecting them from cuts, scrapes, and rusty surprises.
- Secure Your Feet: Ensure you wear steel-toed boots to protect your feet from falling tools or even unexpected accidents.
- Trust Jack Stands: Place jack stands in the right places for safety and stability once your car is up on a jack.
- Stable Ground: Ensure that your workplace is non-slippery through a non-slip mat or a dry, stable floor.
- Plan Your Exit: Ensure you have an escape route under the car in case things tighten.
- Use Proper Tools: No shortcuts! The right equipment enables more efficient and safer jobs.
- Breathe Fresh Air: Open the garage door or work in a well-ventilated area for fresh air.
- Have a Backup: Tell a friend or relative that you are working under the car in case you need help.
Conclusion:
You’ve wrestled that stuck CV axle into submission, and your car is ready to hit the streets with newfound freedom. Give yourself a pat on the back – you’ve earned it! Now, before you stash your tools and call it a day, here’s a little bonus hack to keep in your automotive arsenal.
Ever struggled with rusty bolts that just won’t let go? Here’s the trick: a mixture of vinegar and baking soda. Yep, that’s right. Apply this dynamic duo to those stubborn bolts, let them fizz and work their magic, and watch them loosen up.
Read More: