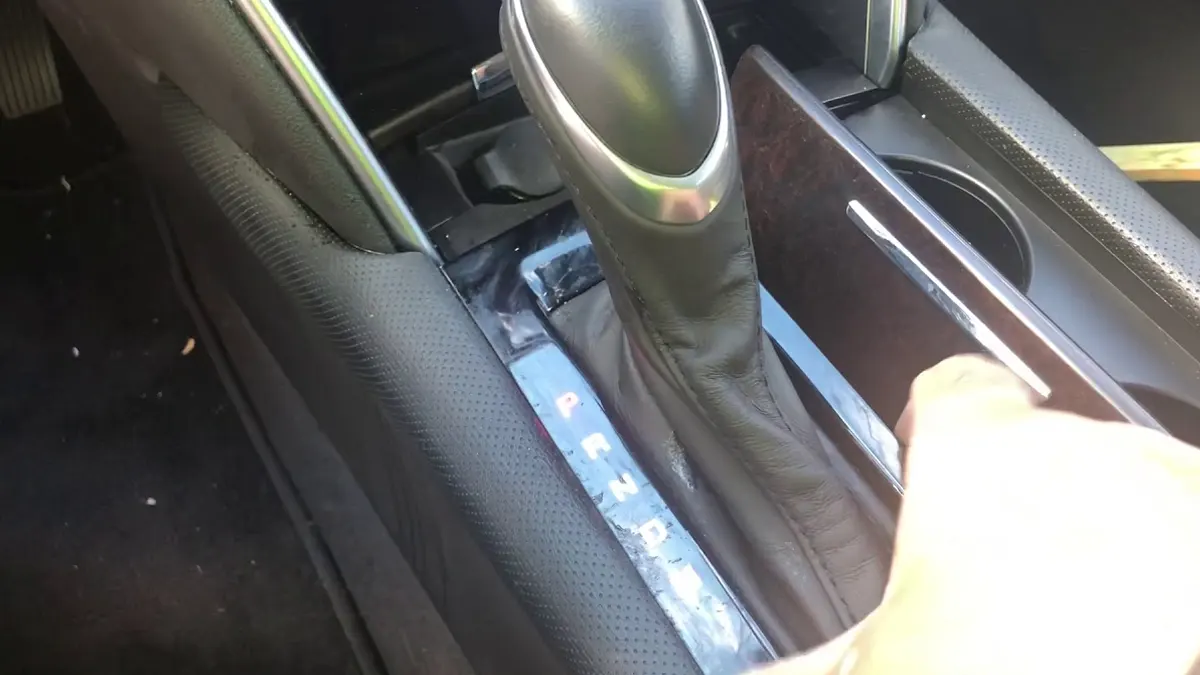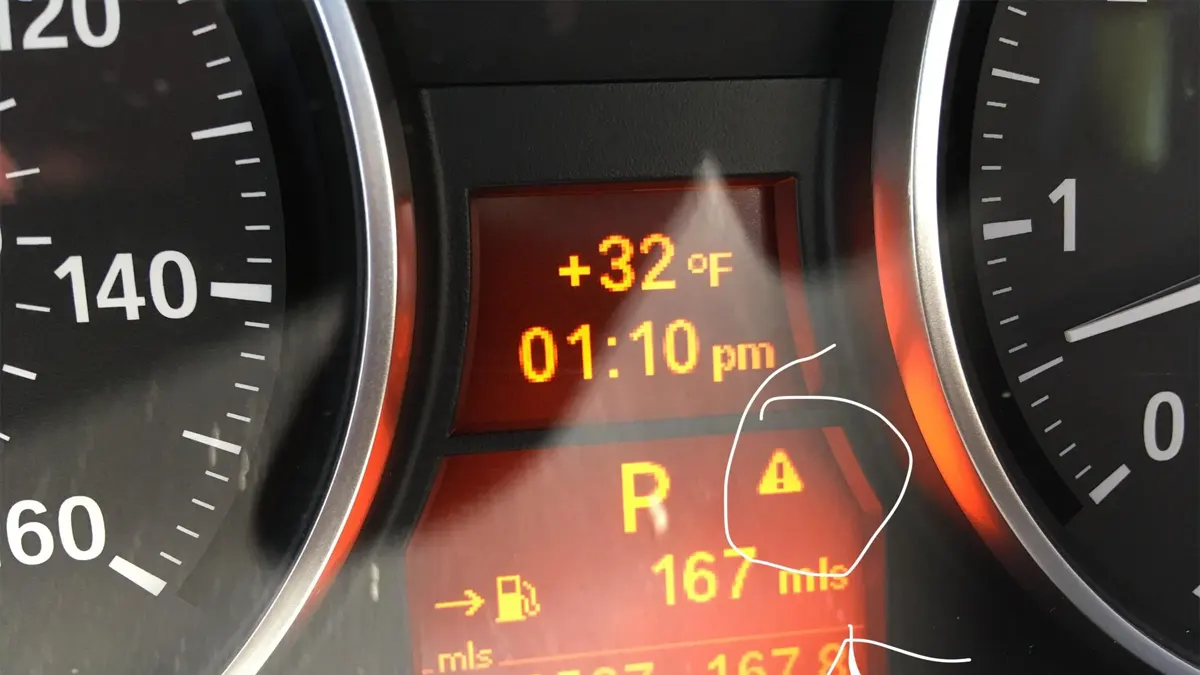
The crankshaft position wiring harness is one of the few critical elements upon which a vehicle’s engine performance depends. Imagine driving your car on an open road, and suddenly, your engine throws a tantrum. You will panic, and this incident will disturb your whole day’s schedule.
Our latest guide will elaborate on how to fix the crankshaft position sensor wiring harness. Without a single thought, consider it a therapy session for your car and show it some love. You can save money and hit the road to enjoy a trouble-free drive by doing it yourself!
Identifying the Problem:
Identifying the reason behind the crankshaft position sensor wiring harness is essential to repair it, so follow these steps.
-
Perform a Visual Inspection:
First, inspect the wiring harness and observe any signs of physical damage, such as loose connections, frayed wires, or exposed conductors, especially near the ECM and sensor.
-
Use OBD-II Diagnostic Tools:
If your vehicle has OBD-II capabilities, connect it with a compatible diagnostic scanner. You can check whether the error codes related to the crankshaft position or wiring harness provide hints about the issue.
-
Check Wiring Continuity:
After disconnecting the battery, use a multimeter to check the wiring continuity along the harness. If you find any significant resistance between the sensors and ECM’s connector, there’s a wiring problem.
-
Inspect Connector Pins:
Observe the pins among ECM connectors and sensors. If you notice corrosion, signs of moisture ingress, or pins are bent, clean and replace them.
-
Perform Signal Testing:
Use a digital oscilloscope and perform signal testing on the wiring harness. Compare the output signal with the expected waveform pattern; if it suggests irregularities, there’s a wiring issue.
-
Verify Sensor Functionality:
Check the crankshaft position sensor’s functionality to ensure that’s not the problem. If you find the sensor faulty, replace it before fixing the wiring harness.
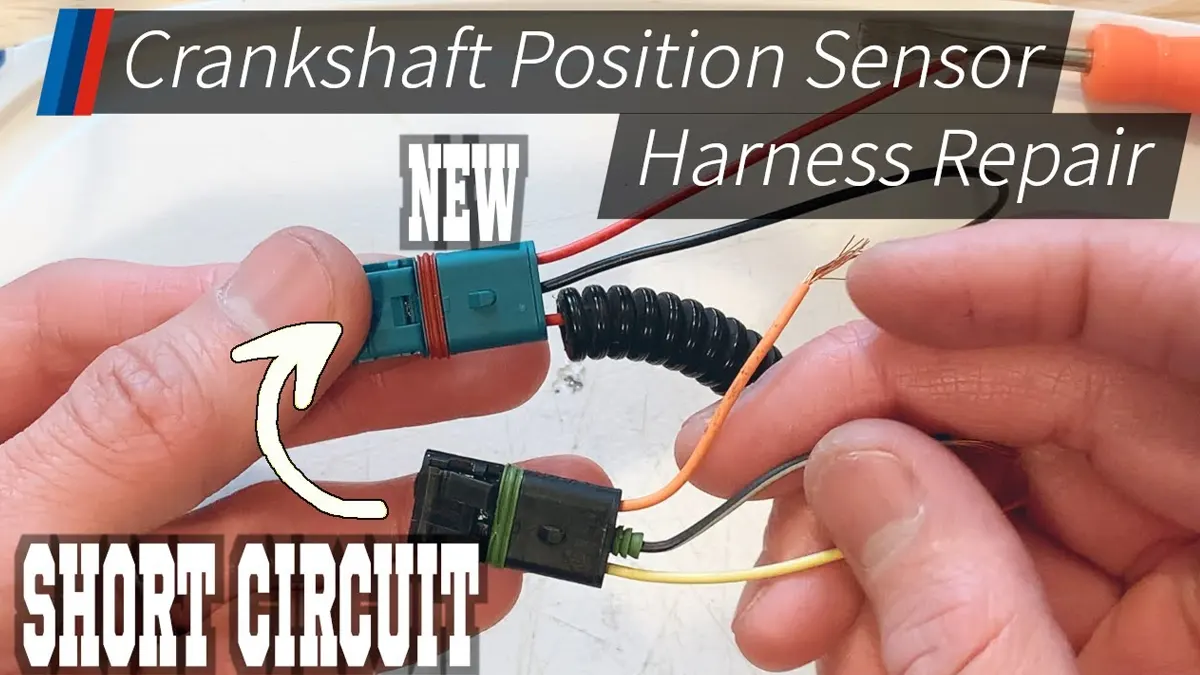
How Do You Fix the Crankshaft Position Sensor Wiring Harness?
You identified the problem, so fix the crankshaft position sensor wiring harness. Follow our instructions and fix the wiring harness.
-
Gather Tools and Materials:
Before starting, gather tools and materials such as wire connectors, wire strippers, heat shrink tubing, crimping tools, and a multimeter.
-
Disconnect the Battery:
Disconnect the vehicle’s battery first to avoid any electrical accidents during the whole process. Ensure you turn off the ignition as well.
-
Identify Faulty Sections:
Refer to the problems you identified and spot the faulty sections of the wiring harness. Repair or replace the damaged wires or connectors.
-
Cut and Strip Damaged Wires:
Cut the damaged sections of wires while stripping the insulation from where the wire ends. This practice will expose a long enough length for splicing.
-
Crimp or Solder Connections:
If you have the skills, you can crimp or solder the connections. DIYers can choose crimping because it’s easier, but soldering provides a stronger connection. High-quality connectors are ideal for automotive applications.
-
Use Heat Shrink Tubing:
You’ve made the connections; now slide heat shrink tubing over every splice. Heat the tubing with a lighter or heat gun for a secure and insulated seal. It will protect the area you previously repaired from moisture and damage in future.
-
Secure Wiring Harness:
Ensure that the wiring sections you repaired are secured and made correctly. Utilize harness clips or zip ties so the wires won’t rub against the engine’s sharp edges or moving components.
-
Reconnect Battery:
Reconnect the vehicle’s battery after repairing and securing the wiring harness while ensuring all connections are secure and tight.
-
Test for Proper Functionality:
Once you turn on the ignition, use a diagnostic scanner and clear any error codes. Start the engine and notice whether the symptoms that urged you to repair it are resolved.
Tools and Materials Required:
To fix the crankshaft position sensor wiring problem, you require a specific set of tools and materials. You need wire connectors, heat shrink tubing, crimping tools, soldering equipment (optional, depending on your choice), wire strippers, a multimeter, a diagnostic scanner, and safety gear.
Safety Precautions:
Safety must be your priority while handling an automotive electrical system. Some essential safety precautions are as follows:
-
Disconnect the Battery:
Before starting work, disconnect the vehicle’s battery to avoid electrical accidents.
-
Protect Your Eyes:
You can wear safety glasses to protect your eyes from electrical sparks and waste materials.
-
Use Proper Tools:
Use proper tools for this task and ensure they work well.
-
Avoid Moving Parts:
Be careful of moving engine parts, and turn off the engine. The vehicle must be in neutral mode or parked.
-
Double-Check Connections:
After completing the work, double-check all connections and ensure they are secure before reconnecting the battery.
-
Work in a Well-Ventilated Area:
If you select an enclosed space for fixing, ensure it is well-ventilated to avoid exposure to dangerous fumes.
Testing and Verification:
When you’re done repairing, verification is essential to check whether the issue has been resolved and your vehicle’s engine is functioning well. Follow the steps given below for testing and verification.
-
Clear Error Codes:
Use your OBD-II diagnostic scanner and clear error codes related to the crankshaft position and the wiring harness.
-
Start the Engine:
Turn on the ignition key to start the engine and notice your engine’s behavior, especially vibrations or unusual sounds. Ensure that the engine starts smoothly.
-
Monitor Idle:
Allow your engine to idle for a few minutes and ensure its idle is stable and consistent. The engine shouldn’t show symptoms such as misfires or stalling.
-
Rev the Engine:
Gently press the gas pedal and increase the engine’s RPM slowly. It must increase without sputtering or hesitation.
-
Take a Test Drive:
If everything looks normal, hit the road and take a test drive. Notice the vehicle’s performance during different driving conditions, such as city and highway.
-
Recheck for Error Codes:
After taking a test drive, use a diagnostic scanner again to scan for error codes.
-
Final Verification:
Confirm that the symptoms you identified are no longer present and your vehicle operates smoothly without any issues.
Wrap Up:
The critical component discussed above is significant because your vehicle’s engine performance depends on it. Thus, it is essential to understand how to address several wiring harness issues.
We covered the essential aspects of the repair process, such as identifying problems and the tools required to repair and prioritize safety. Follow our guide and tackle wiring harness issues confidently.
Addressing symptoms such as engine misfires, error codes, or stalling before time is the perfect way to ditch more significant problems that may arise in future. Your well-maintained harness will ensure uninterrupted communication between the crankshaft position sensor and the engine control module.
Read More: